
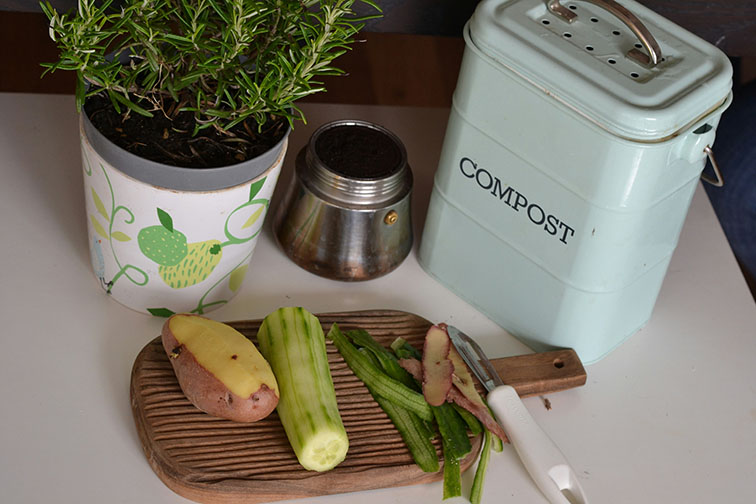

According to the United States Environmental Protection Agency, composting is defined as, “the managed, aerobic (oxygen-required) biological decomposition of organic materials by microorganisms.” This decomposition then leads to the creation of compost which can be used as a natural fertilizer for your garden. Composting reaps many benefits including improving soil quality, supporting plant growth and protecting our local ecosystems. Additionally, by decomposing organic materials through composting, as opposed to in a landfill, home gardeners can help reduce the amount of methane released into the atmosphere.
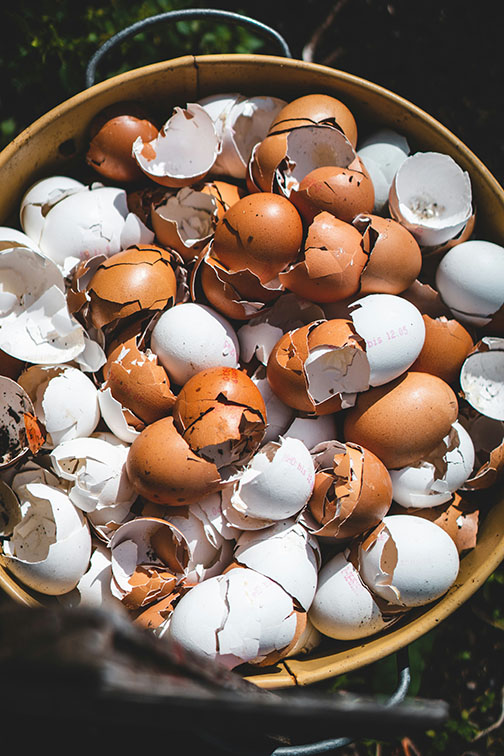
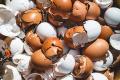
Compostable items are divided into two categories: greens or browns. Greens are materials whose microorganisms encourage decomposition. These include fruits, vegetables and egg shells. Browns are dry ingredients that keep compost from becoming too wet and that encourage aeration. These items include shredded newspaper, tea bags, dried leaves and pet fur.
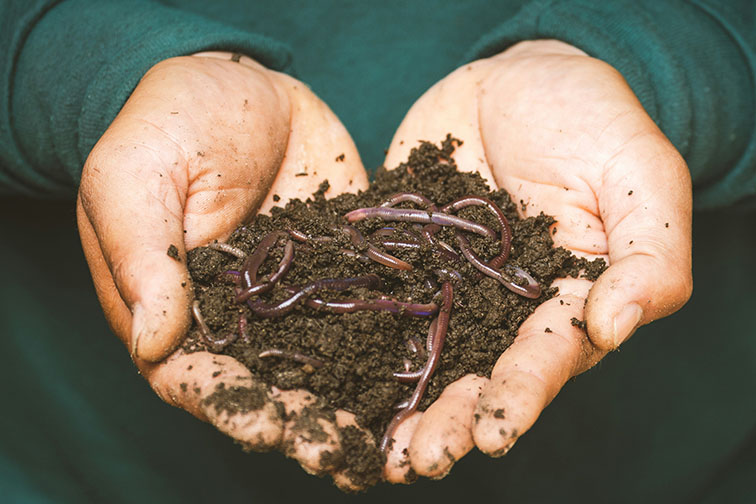
Earth Worm
Vermicomposting is a form of composting that uses worms. The earthworms and other microorganisms within the compost eat the organic matter and turn it into worm casings that can be used as a natural fertilizer. Starting your vermicomposting bin can be completed in a few simple steps:
Create your Bin: The worm bin you select should have a tight-fitting lid and be dark to keep out light. Also, ensure the bin has enough room for worms, soil and the additional organic matter you’ll add throughout the composting process. Additionally, if you’re using a plastic bin, drill air holes in the upper sides of the bin and drainage holes at the bottom to allow for some breathing room.
Location is Key: When looking for the perfect spot, there are a couple of items to keep in mind. First, your worm bins should be kept either indoors in a dark area or a shaded spot outdoors. If you’re planning to store the bin outdoors, insulate your bin with blankets or straw during the winter months. The optimal temperature for your worms is between 59 and 77 degrees Fahrenheit.
Gather Your Materials
Worms: Only seven types of worms are suitable for vermicomposting; the most common of these is the ‘red wiggler’ (Eisenia fetida). Do not use worms that you find outside or that you buy at a bait shop; these worms aren’t suitable for decomposing your compost. To start, you’ll want about 1 lb. or 1,000 individual worms.
Bedding: When it comes to your worm bin’s bedding, the best materials include non-glossy newspaper, office paper, cardboard or dry leaves. These should be torn or shredded and then soaked for about 10 minutes. Once the bedding is done soaking, wring it dry until it feels like a damp sponge, then place it in the bed and lightly fluff it up. The bin should be filled about halfway with bedding and then a handful of soil.
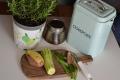
Worm Food: For the worms’ food, they’re able to eat fruit and vegetable scraps, coffee grounds, paper filters, crushed eggshells and paper tea bags without staples. When you’re preparing your worm food/compost, chop up your scraps into smaller pieces to speed up decomposition. Avoid giving them citrus fruits, odorous foods like onion and garlic, meat, dairy products, greasy food, bones and pet waste.
Putting It All Together: Once you’ve prepped your bin and placed your bedding, add your worms to the top of the bedding and then add some food scraps. Each time you add more food scraps, cover the worms with about two inches of bedding. This ensures that their environment is continually replenished as they decompose the previous matter. The worms will eat about 25% of their body weight each day, and they’ll reproduce quickly. Regularly check the bin to assess whether you need to increase the amount of food to accommodate more worms or decrease their food supply if they can’t keep up.
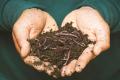
Time to Collect!: After three to six months, your vermicompost will be ready to harvest! The compost you’re collecting is the worm castings left behind by the worms as they break down their food and bedding. These castings are dark brown, tiny bits of round materials that look similar to rich soil.
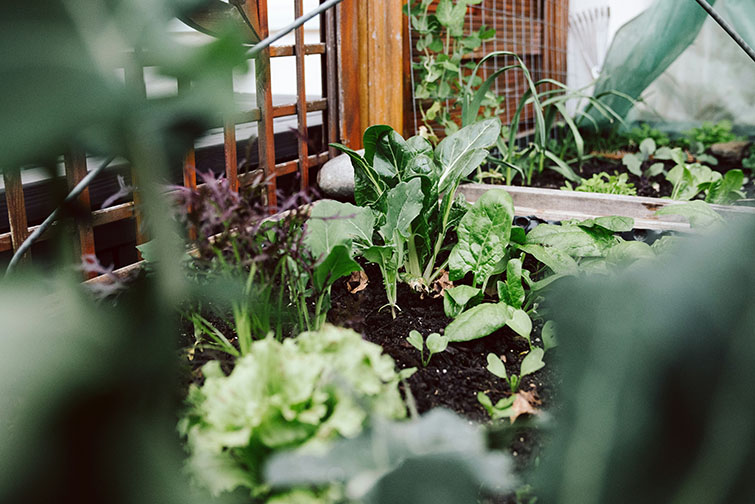
Put Your Fertilizer to Work!
Once you have your worm castings, add them to your garden beds to serve as a natural fertilizer. These castings will help improve soil aeration, drainage and moisture retention. They also reduce the potential for soil erosion and sequester carbon in the soil. You can also add the castings to a seed starting mix to encourage new plantings to grow.
