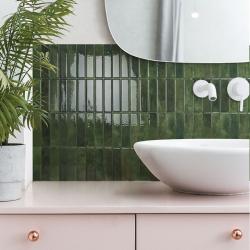
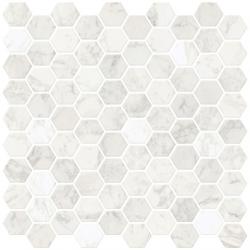
Tiling a bathroom or kitchen can be a long, intensive task. With the introduction of peel-and-stick tile, homeowners are able to create short-term solutions for design problem areas throughout their home.
Decorative DIY
Peel-and-stick tile is tile with an adhesive backing that can be easily applied to a clean, prepped surface. These adhesive tiles come in multiple materials and typically don’t require any grout, making them a convenient, easy-to-install option when renovating. Peel-and-stick tile is also a great option for rentals due to its ability to easily be removed and replaced. It’s a good way for homeowners to test out different tile shapes and sizes before committing to a style. When the tile is high-quality and applied well, it can last for years.
Wear and Tear
Peel-and-stick tile does have it’s downfalls. One of the biggest issues being with the adhesive potentially breaking down over time. This can be especially prevalent in bathrooms and kitchens due to water and steam exposure from showers and stoves. It’s also important to note that the quality of the tile can heavily impact how long it lasts and how real it looks. Lower quality tile can look fake compared to classic tile, and its adhesive may be more likely to wear down. In addition to this, peel-and-stick tiles that aren’t applied neatly can look messy and unfinished.
Easy Application
Application of peel-and-stick tile is quick, easy and convenient. Start by cleaning and preparing the surface for the tile. This includes filling any holes, smoothing down uneven spots and cleaning dust off with a quick wipedown with a sponge. It’s important that the surface is completely smooth as the tile will hang off of any areas sticking up and appear uneven.
Once you’ve prepped the area, it’s time to measure and cut your tile. Without removing the backing, lay out the tile on top of the surface to measure how much you’ll need and if you need to make any cuts to accommodate outlets or plumbing fixtures. Mark these areas with a pencil or chalk and leave guiding lines to follow during application. When it’s time to cut the tiles, use a straight edge for accuracy and a saw or sharp utility knife to cut. If the tool you use to cut the tile is too dull, the tile may become damaged or uneven.
Now it’s time to apply! Add a thin layer of soapy water to make it easier for you to move the tile around during application. This can be done with a spray bottle or sponge. Once everything is in place, carefully remove the backing and stick the tile to the wall. It’s best to go in small sections to ensure you catch any mistakes and have ample time to make adjustments. Some peel-and-stick tile will also come with directional arrows, making it easier to see where to peel and place your tile. Finally, if required, you can grout your peel-and-stick tile to add a clean, finished look!


